Wie man Marihuana im Haus anbaut: Ein Leitfaden für angehende Heimgärtner
When it comes to marijuana, more and more people are getting curious about growing their own stash at home. And really, who could blame them? Between the rising costs, inconsistent quality, and the joy of cultivating something yourself, growing marijuana indoors has become increasingly popular – and for a few different reasons. Whether you’re chasing the dream of never läuft out of bud, you’re keen on understanding your plant from seed to smoke, or just looking for a side project with serious chill vibes, indoor growing is (ironically) a growing calling.
But here’s the catch: indoor cannabis cultivation provides control, privacy and year-round harvest potential, but it’s not as simple as throwing a plant into a pot and shaking your lucky rabbit’s foot. There’s an art to it. A rhythm. Some patience, a smidge of know-how and perhaps a couple of stumbles before your first prized harvest.
Also can you grow CBD yourself? With the right approach, yes! If you’re a budding grower who is ready to roll up your sleeves (and one day maybe roll something else), here’s your friendly, no-fuss starter’s guide.
Start with the Right Seeds
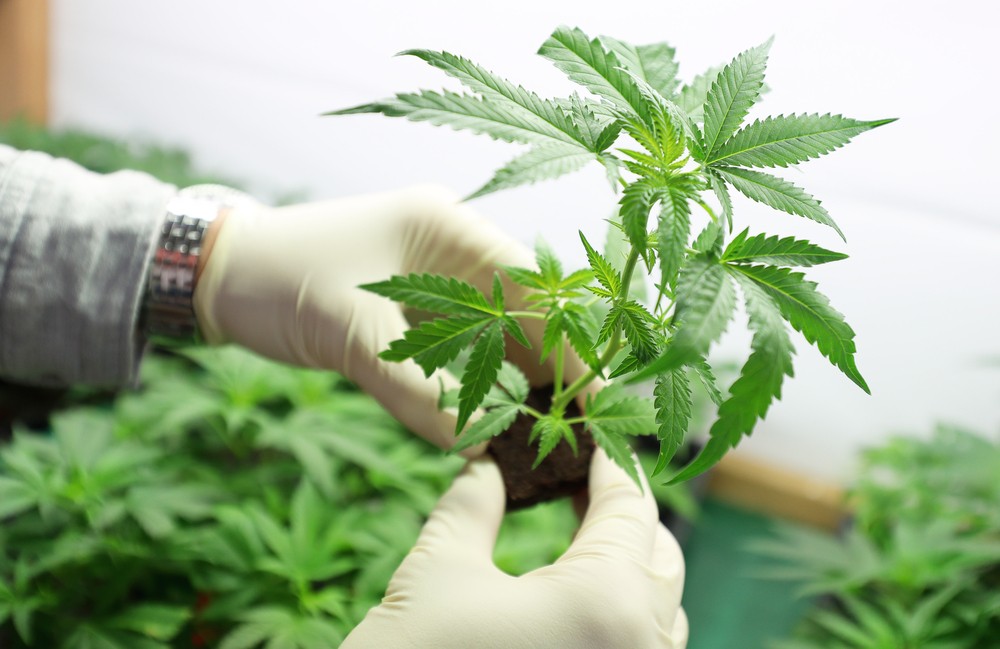
Before you start messing around with lights, pots or soil, there’s one non-negotiable fact: You’ve got to start with quality weed seeds. It seems obvious, but the difference between a robust, high-yielding plant and a traurig, scraggly disappointment usually comes down to the genetics you begin with. The expression “you reap what you sow” hits hard here.
You’ve got a few options when it comes to seed types — feminised seeds are most common amongst home growers since they guarantee bud-producing plants, not duds. Autoflowers are also beginner-friendly and don’t require strict lighting conditions to flower, whereas photoperiod plants provide a bit more control if you are looking for larger yields or specific traits.
Whatever you decide on, just ensure that your weed seeds are from a reputable source. There are hundreds of seed banks out there, but not all are created equal. You want to look for ones with positive reviews, transparent breeding practices, and clear strain information. It’s kind of like choosing the right puppy — you want good genetics, a healthy start, and some inkling of what you’re in for.
Create the Perfect Grow Space
Once you’ve sorted your seeds, it’s time to set the stage. When growing indoors you’re in charge of it all: light, temperature, airflow, humidity, the whole shebang. Sure, it sounds intense, but it also means you’re not at the mercy of wild weather swings or nosey neighbours. First step? Choose your growth space. This can be a spare room, closet or a proper grow tent, if you’re going all-out. Just ensure your setup for CBD farming is lightproof and easy to ventilate.
Lighting is perhaps your biggest factor in ensuring the efficacy of your growing space. LED grow lights are a popular choice because they’re energy-efficient and don’t run too hot. You want to mimic natural sunlight — about 18 hours of light and 6 hours of darkness during the veg stage, then switching to 12/12 when it’s flowering time. In addition to light, don’t forget airflow. One or two fans will circulate air, help to combat mould, and strengthen the stems of your plants.
Finally, you need to watch for temperature and humidity. Our best tip is purchasing a hygrometer and thermometer so that you can keep your space in the Sweetspot. In an ideal world, you’re shooting for 20-28°C and about 40–60% humidity depending on how far along in the growth cycle you are.
Pick the Right Growing Medium
Soil or hydro? It’s the age-old debate. If you’re a beginner, soil is often the more forgiving choice. It’s natural, easy to handle and acts as a buffer in case you make mistakes with nutrients. Well-draining organic potting mixes are a great option, or you could even make your own mix, combining compost, coco coir and perlite if you feel fancy.
If you’re more adventurous (or simply love a gadget), hydroponics is another way to go. It skips soil altogether and feeds your plants through water systems. It can yield faster growth and higher yields — but also requires more monitoring and precision. Whichever medium you choose, be sure to choose pots with drainage holes and consider fabric pots for better root aeration. Healthy roots mean happy plants (and that’s what we’re all after).
Feed Your Plants (But Don’t Overdo It)
Cannabis plants are hungry, but they’re not bottomless pits. Too much of a good thing can actually slow growth or burn your plants — especially if you’re overdoing synthetic nutrients. A balanced approach is key. During the vegetative stage, your plant will require higher amounts of nitrogen to grow thick stems and foliage. When flowering kicks in, it’s time to reduce nitrogen and increase phosphorus and potassium for bigger, better buds.
If you’re going organic, there are many slow-release options available, such as worm castings, fish meal or compost teas. These will not only feed your plant but will also help the overall health of your growth medium. Always start slow with nutrients and observe how your plant reacts to it. Leaves turning yellow, tips curling or strange spots appearing? They’re trying to tell you something. Take a listen, and recalibrate accordingly.
Master the Watering Game
If there’s one mistake pretty much every first-timer makes, it’s overwatering. Cannabis plants love a good drink, but they also despise having wet feet 24/7. Watering too often can cause root rot and infestations, which are two things that you don’t want happening in your grow room. The trick is to allow your soil to dry out somewhat between watering. A good rule of thumb? Stick your finger into the soil up to the second knuckle. If it’s dry down there, it’s time to water.
Wenn Sie do water your plants, aim for deep watering. That means slowly saturating the soil until water runs out the bottom. This promotes the roots to grow deeper and stronger. If you’re using tap water, allow it to sit out for 24 hours so that chlorine can evaporate, or even better, use filtered water if that’s on the menu. And don’t forget — watering is your daily touch base with your plants. It’s a great time to examine leaves, look for pests and admire your efforts.
Be Patient With the Process
Here’s the bit nobody wants to know but absolutely needs to hear: good weed takes time. Depending on your strain and growing method, you’re looking at anywhere from 8 to 16 weeks from seedling to harvest. And even when you’ve harvested those lovely buds, there’s still the drying and curing process before it’s ready to enjoy. Rushing that final stage? You’ll lose flavour, THC potency, and even smoothness. This is the weed equivalent of taking cookies out of the oven too early — not worth it.
Use this time to learn your plant’s rhythms. Look at how it grows, how it stretches, how the leaves turn as the light changes. Indoor weed growing is part science, part art, and a whole lot of learning as you go. The more you observe, the more you understand. And when you finally light up your first homegrown batch, the satisfaction is unrivalled. It’s not only about the smoke — it’s about the journey that got you there.
Abschließende Überlegungen
Growing marijuana indoors might seem like a significant mission initially, but once you get the hang of it, it’s incredibly satisfying. You’ll gain patience, problem-solving skills, and who knows, maybe even some of that green-thumb zen you didn’t know you had. Just keep it simple, stay curious, and don’t worry about the mishaps — they’re all part of the ride.
Whether you’re doing it to save money, get a better sense of exactly what you’re smoking, or simply in search of a great new hobby that pays off in leafy dividends, this guide should help you start off on the right foot. So pick up your weed seeds, build your grow area, and enjoy the process. The harvest is certainly worth it.


Hinterlasse einen Kommentar
An der Diskussion beteiligen?Hinterlasse uns deinen Kommentar!